
Veeam: How Cisco & Nutanix’s Alliance Impacts Veeam Users
As Josh Druck outlined in his September 14th blog, Veeam has longstanding technical relationships with both Cisco HyperFlex and Nutanix. In...
As Josh Druck outlined in his September 14th blog, Veeam has longstanding technical relationships with both Cisco HyperFlex and Nutanix. In...
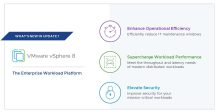
Last year, VMware introduced vSphere 8, the enterprise workload platform for traditional and next-generation applications, and it became generally available in November...
Version 4.4.1 (February 11, 2023) Upgraded RVTools solution to Visual Studio 2022 Upgraded RVTools solution to use VMware vSphere Management...
Unpatched and unprotected VMware ESXi servers around the world have been targeted over the past few days in a large-scale...
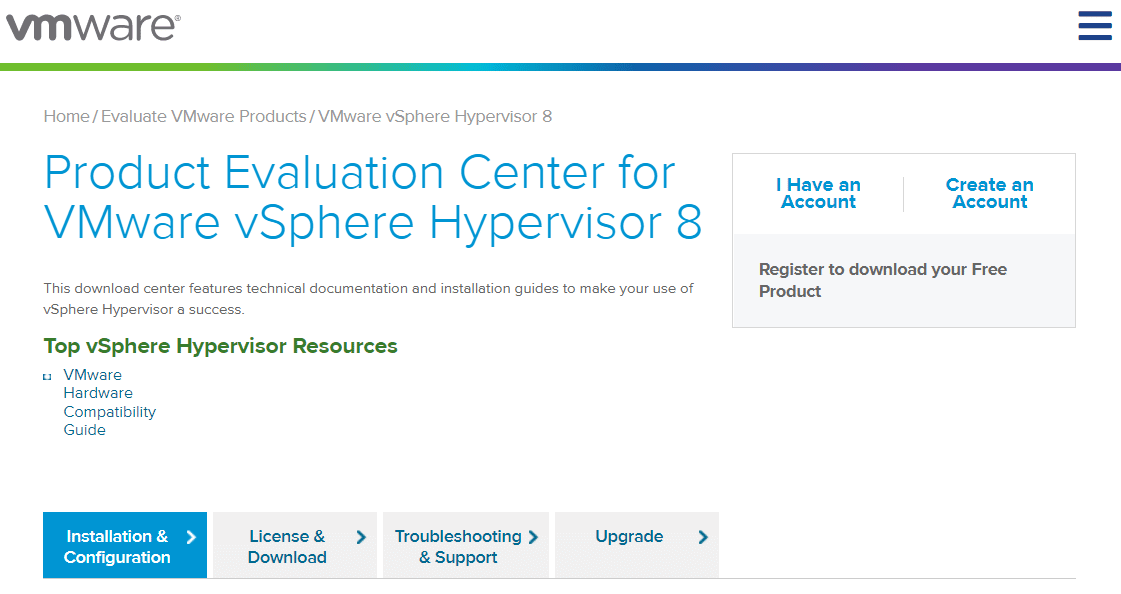
vSphere 8.0 has been released and as known from previous versions, VMware provides a free version of their Hypervisor ESXi....

vSphere 7 is finally out! You can download the Dell Server ISO image by clicking the screenshot below: Download: VMware
Last week I had to change VMX files for 500 XenDesktop machines because the users where able to eject removable...
Some months ago I installed 15 new vSphere 6.0 hosts with local flash disks. After installation I configured the VMware...
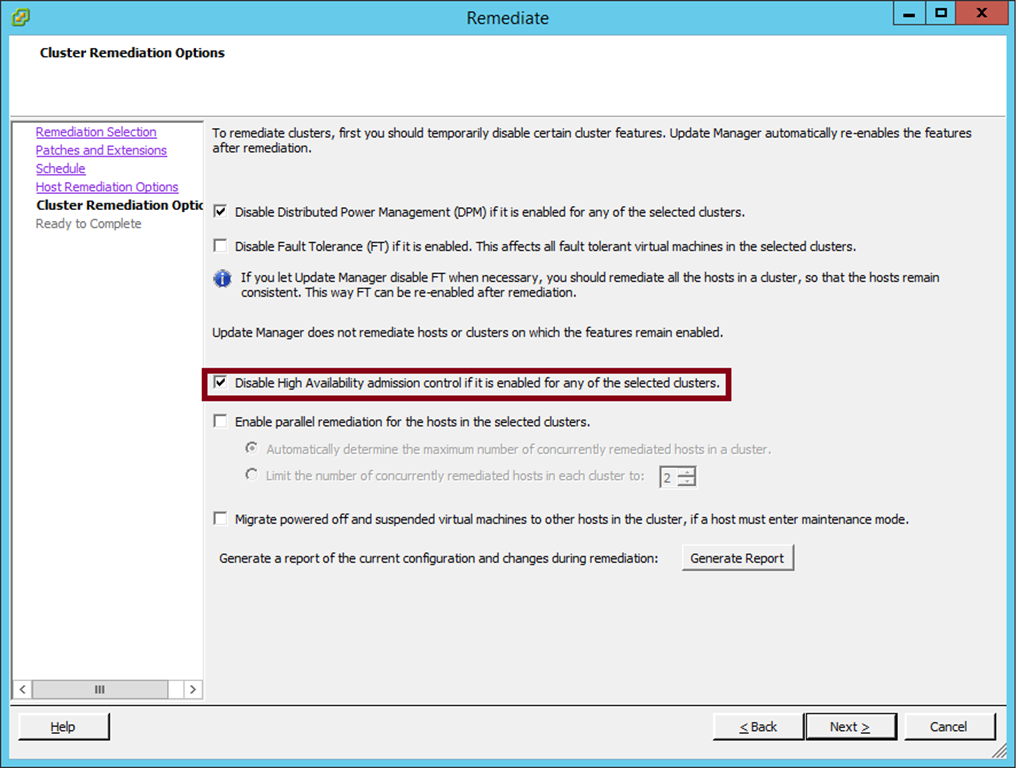
Last week I deployed with Update Manager some patches at an existing vSphere 6.0 environment, during the remediate process I...